Region Monitor
Introduction
Welcome and thank you for the interest you put in this product.
The content of this Box:
RegionMonitor2.0 : the region Monitor
Zone : To define zones
Requirements :
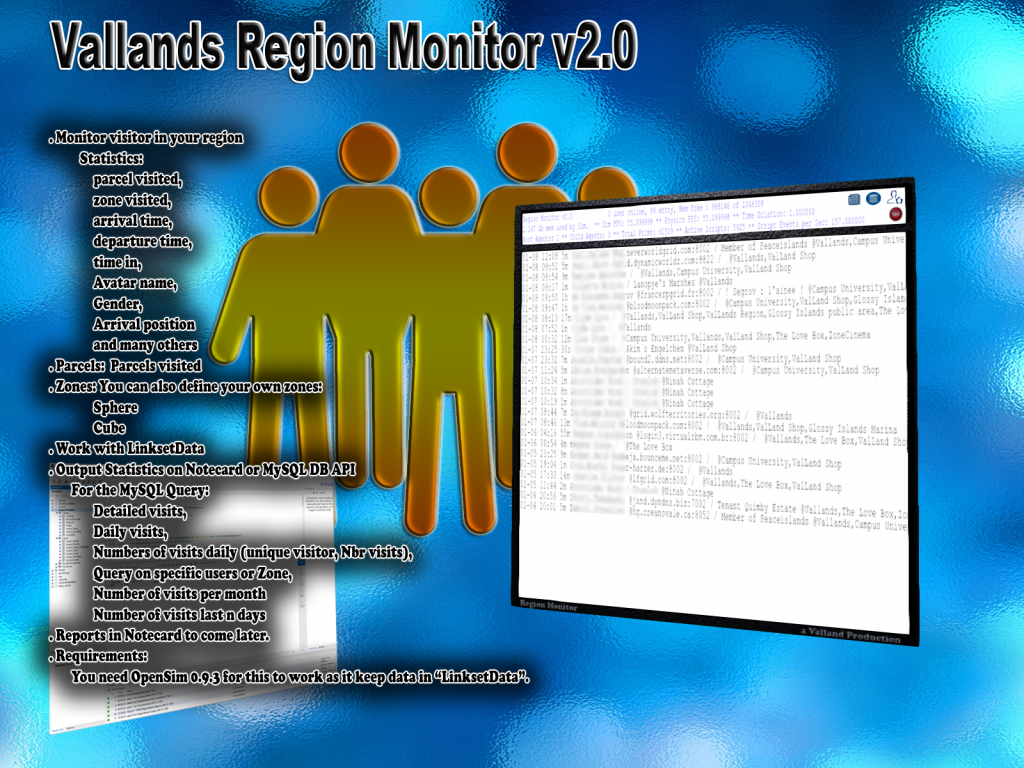
You need OpenSim 0.9.3 for this work as we use LinksetData to keep the statistics.
You also need these rights, for the prim to write the visits
osSetDynamicTextureDataBlendFace ${OSSL|osslParcelOG}ESTATE_MANAGER,ESTATE_OWNER
osSetDynamicTextureDataFace ${OSSL|osslParcelOG}ESTATE_MANAGER,ESTATE_OWNER
osGetNotecard ${OSSL|osslParcelO}ESTATE_MANAGER,ESTATE_OWNER
osMakeNotecard ${OSSL|osslParcelO}ESTATE_MANAGER,ESTATE_OWNER
Features
The Region Monitor keep statistics of visitor in your region
Statistics:
- parcel visited,
- zone visited,
- arrival time,
- departure time,
- time in,
- Avatar name,
- Gender,
- Arrival position
- and many others
Parcels:
- Parcels visited
Zones: You can also define your own zones
- Sphere
- Cube
Work with LinksetData
Output Statistics on Notecard or MySQL DB API
- For the MySQL Query:
- Detailed visits,
- Daily visits,
- Numbers of visits daily (unique visitor, Nbr visits),
- Query on specific users or Zone,
- Number of visits per month
- Number of visits last n days
Reports in Notecard to come later.
Region Monitor
Only the owner can interact with it for now.
The Region Monitor is a small prim per default as it is meant to be seen by you, not your visitor, but feel free to resize it the way you want.
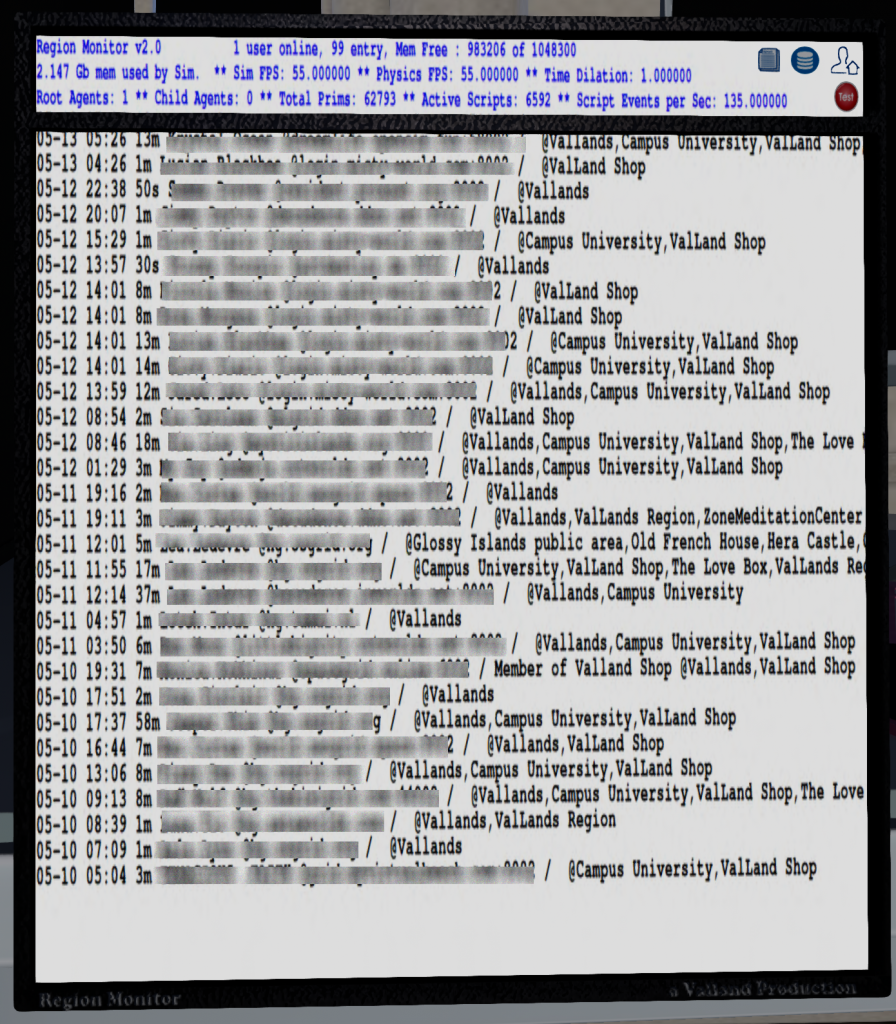
Per default, it doesn’t show anything, if you want to see who’s on, you click on the main page and it will draw the last visitors, this is to avoid writing on textures and generating assets for nothing.
On the Upper part, you see some statistics about the current region and on the main display you see for the last visitors (as much as can be displayed on one page):
- Arrival date
- time spent
- Avatar Name
- Group Name of the Avatar
- Zones visited
The buttons :

Reports : Will write the last visitors in a notecard and give you the report.

Resend Data : Will resend Data to the Database (only if you have installed the API) This doesn’t need to be done, it is done automatically.

Display Owner : Whether to display or not the Owner (data are still kept)

Test Api : Test the API (only if you have installed the API)
Setting the Region Monitor
Edit the Notecard “!Config” inside and set these two fields
IdSim= Write down the Region Id as define in your regions.ini
UrlSendToApi= Enter your Url Define to keep data on DB. * for the API only
*for the API only : if you installed the API found on https://github.com/valr300/WebApiCoreRegionMonitor/tree/master
Zones
Per default, a parcel is a zone. But you can also add your own zone , for example a particular house, or apartment in a building. This can be useful if you want to know if a new attraction you put in your regions get visited or not.
.
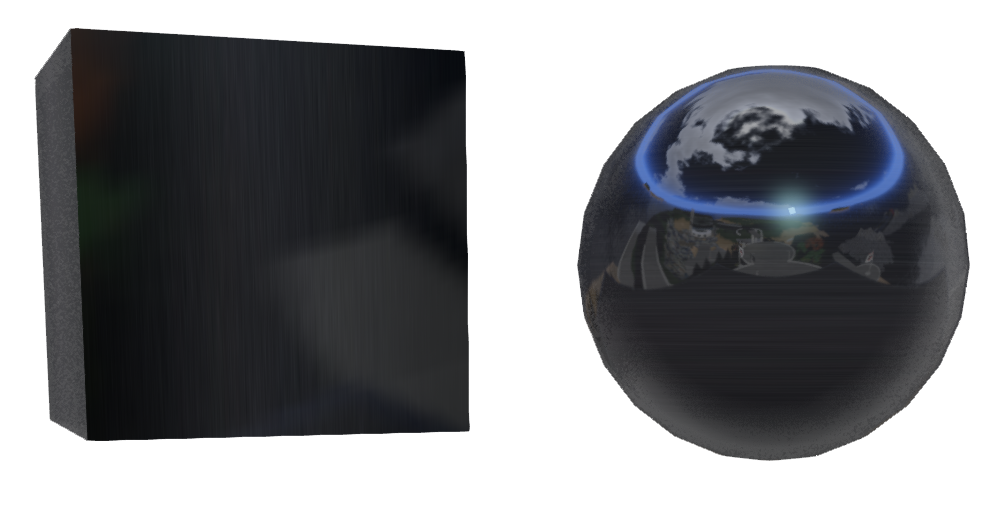
To add a zone drop a “Zone” prim on the floor
- rename it with the name for the Zone, example “ZoneRestaurant”
- You can select its shape in the object Tab, it can be :
– Box
– Sphere (the sizes must be equal x=y=z) - Click on it, a menu will appear, select “SetZone”
- the Zone become bigger, you might have to zoom out a bit,
- Edit the Zone and Stretch, move, rotate so that the Box or sphere envelop the Zone you want to define.
- When done, click on it. it come back to its regular size.
- Set the transparency to 100% so we don’t see it.
Whenever you want to change it, just set back its transparency to 0 and click again on it to access its menu
To delete a zone, simply delete it.
The menu:
“Set Zone” : Define the zone
“Send Data” : Done automatically, send zone definition to the Region Monitor
The Report
When you save a Notecard Report, the content is defined as follow:
- IdAvatar
- Arrival Time Stamp
- DepartureTimeStamp
- Avatar Name
- Avatar Gender
- Avatar Group
- Arrival Position
- Last Position
- AvatarLastGroup
- Time Spent Seconds
- Zones Visited seperated by comma
- IsNpc (1= Is a NPC)